
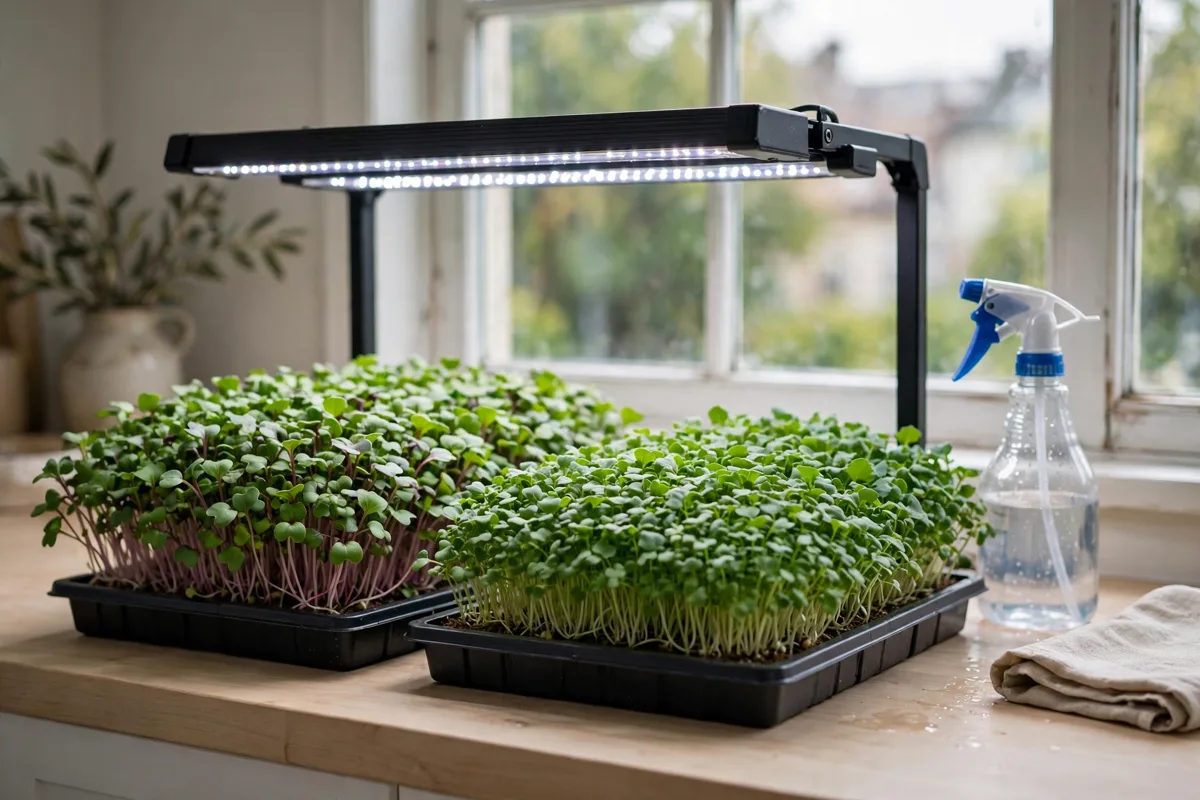
You can grow microgreens indoors in 7 to 14 days with one shallow tray, a bag of seed, potting mix, and a bright windowsill or an inexpensive LED light. Sow the seed thickly on moist soil, keep it in the dark for 2 to 4 days with a second tray pressed on top, then give it 12 to 16 hours of light a day and water from the bottom. Harvest with clean scissors when the first true leaves open, usually when the greens are 2 to 4 inches tall.
That is the whole process. Below is each step with the amounts, temperatures, and timing that help a first tray succeed instead of turning moldy or leggy.
What Microgreens Are (and Are Not)
Microgreens are young vegetable and herb seedlings harvested just after their first seed leaves (cotyledons) open and the first true leaves appear. They are not sprouts: sprouts are germinated in water and eaten root and all, while microgreens grow in soil or on a mat and are cut above the soil line. See Microgreens vs Sprouts: What’s the Difference?
What You Need to Start
You do not need a special kit for your first tray. Here is the basic setup:
- Tray: A shallow 10 x 20 inch tray is the US standard size. Use one tray with drainage holes nested inside one without holes, so you can water from the bottom. See Best Tray for Microgreens for sizes and reusable options.
- Growing medium: A fine, seed-starting or potting mix about 1 to 1.5 inches deep. Coco coir also works. Our detailed picks are in Best Soil for Microgreens.
- Seed: Untreated seed sold for microgreens or sprouting. Radish and broccoli are the easiest first choices.
- Light: A south-facing windowsill can work, but a simple LED shop light or grow light 6 to 12 inches above the tray gives straighter, greener growth.
- Spray bottle and a flat weight or second tray for the germination (blackout) stage.
- Clean kitchen scissors for harvest.
Step-by-Step: Your First Tray
Step 1: Moisten the Soil
Fill the top tray with about 1 to 1.5 inches of mix. Level it, press it flat, and mist until it is evenly damp like a wrung-out sponge — moist, not dripping. Dry pockets cause patchy germination.
Step 2: Sow the Seed Evenly
Spread seed in one even layer, edge to edge, with few seeds touching in piles. A practical starting amount for a full 10 x 20 tray is:
- Radish: about 1 ounce (roughly 3 tablespoons)
- Broccoli, kale, mustard: about 0.5 ounce (roughly 1.5 tablespoons)
- Pea shoots: about 8 to 10 ounces of dry peas, soaked 8 to 12 hours first
- Sunflower: about 4 to 5 ounces, soaked 8 to 12 hours first
When in doubt, sow thinner. Overcrowding invites mold.
Step 3: Cover and Weight (Days 1-3 or 4)
Mist the seed lightly, place the second tray directly on top of the seed, and add a small weight (a book or a brick, about 2 to 5 pounds). Keep the tray in a dark spot or simply leave the cover on at room temperature, ideally 65 to 75°F. Most homes in the US sit right in this range in fall and winter. Check once a day and mist only if the surface looks dry.
The weight and darkness push the roots down into the soil and produce shorter, sturdier stems.
Step 4: Move to Light
When seedlings are about 1 inch tall and start lifting the cover — usually day 3 or 4 — remove the cover and put the tray under light right away. Waiting even one extra day is what causes pale, stretched, leggy greens.
Give the tray 12 to 16 hours of light per day. Keep an LED light 6 to 12 inches above the leaves and raise it as the greens grow. The full breakdown by setup is in How Much Light Do Microgreens Need?
Step 5: Water From the Bottom
Pour about 1 to 2 cups of water into the bottom (hole-free) tray and let the soil drink it up for 10 to 15 minutes, then pour off what is left. Bottom watering keeps the leaves dry, which is your main defense against mold. Water once a day, twice a day if your home is warm or dry and the tray feels light.
If white fuzz appears, read Why Are My Microgreens Moldy? before throwing the tray out — fine root hairs are white, harmless, and often mistaken for mold, while true mold looks gray or webby and smells musty.
Step 6: Harvest
Harvest when the seed leaves are fully open and the first true leaves are just appearing — for most fast varieties that is day 7 to 10, at 2 to 4 inches tall. Cut with clean scissors just above the soil line, in the morning if you can, when the greens are most crisp. Full technique and timing by variety are in When and How to Harvest Microgreens.
Microgreens do not regrow after cutting. Compost the soil and roots, wash the tray with hot soapy water, and sow again.
How Long Each Variety Takes
- Radish: 7-10 days — the fastest and most forgiving. Start here.
- Mustard: 8-12 days — fast, with a spicy bite.
- Broccoli: 8-12 days — mild flavor, very even germination.
- Kale: 8-12 days — similar timing to broccoli.
- Pea shoots: 10-14 days — sweet, and the shoots can give a small second cut.
- Sunflower: 10-14 days — thick, lemony leaves; soak the seed first.
- Basil: 14-21 days — the slowest common variety; be patient and sow it in its own tray.
The complete chart is in How Long Do Microgreens Take to Grow?
For a first tray, follow the dedicated walk-through in How to Grow Radish Microgreens or How to Grow Broccoli Microgreens.
The 5 Mistakes That Ruin a First Tray
- Too much water. Soggy soil plus poor airflow is the top cause of mold and sour smells.
- Light too late or too weak. Seedlings left covered, or on a dim north windowsill, stretch and fall over within a day or two.
- Sowing too thick. Piles of seed germinate unevenly and trap moisture.
- Skipping the weight. Unweighted seed often pushes up out of the soil and dries out.
- Harvesting too late. Past about day 14 for fast varieties, flavor turns bitter and stems get tough.
Growing Indoors in Winter and in Different US Climates
Indoors, microgreens are a year-round crop in every USDA zone, because room temperature matters more than the weather outside. In winter, plan on a grow light for the full 12 to 16 hours, and keep trays away from windowsills below about 60°F, which slows germination. Details are in How to Grow Microgreens in Winter Indoors. In hot southern homes, keep trays out of harsh afternoon sun through glass and water twice a day. A windowsill-only method is covered in How to Grow Microgreens on a Windowsill, and a soil-free method in How to Grow Microgreens Without Soil.
Frequently Asked Questions
How long do microgreens take to grow indoors?
Most varieties take 7 to 14 days from sowing to harvest. Radish is fastest at 7 to 10 days, broccoli and kale take 8 to 12 days, and basil is slowest at 14 to 21 days. Cool rooms below 65°F add a few days.
Do microgreens need sunlight, or can I use a regular LED bulb?
Microgreens need bright light for 12 to 16 hours a day, but it does not have to be sunlight. A basic LED shop light or daylight bulb kept 6 to 12 inches above the tray works well and gives straighter growth than most windowsills in winter.
Can I grow microgreens without soil?
Yes. You can grow on coco coir, hemp or jute mats, or other food-safe growing pads, and some varieties do well with water only after germination. Soil and coir are more forgiving for beginners because they hold moisture and support the roots evenly.
Why are my microgreens falling over?
Falling over (leggy growth) almost always means the seedlings got too little light, or stayed covered too long in the dark stage. Move the tray under strong light as soon as the seedlings lift the cover, and keep the light close to the leaves.
Can I harvest microgreens more than once?
No, with one partial exception. Microgreens are cut above the growing point, so the tray will not regrow. Pea shoots can push out a smaller second harvest if a node or two is left. For everything else, resow a fresh tray.
How do I store microgreens after harvest?
Keep them dry in a sealed, paper-towel-lined container in the refrigerator at about 35 to 40°F. Most varieties keep 5 to 7 days. Wash only right before eating.